
Workflow Guide

How Ondakit Works

A step-by-step walkthrough guiding you from opening the app to flashing your custom standalone synthesizer firmware.

01
Step One

Select Your Hardware Target

When you open Ondakit, select your hardware platform from the sidebar dropdown. Whether you are using a bare Daisy Seed, a Synthux Touch 2, or a Daisy Pod, Ondakit automatically configures the canvas layout for your target interface.
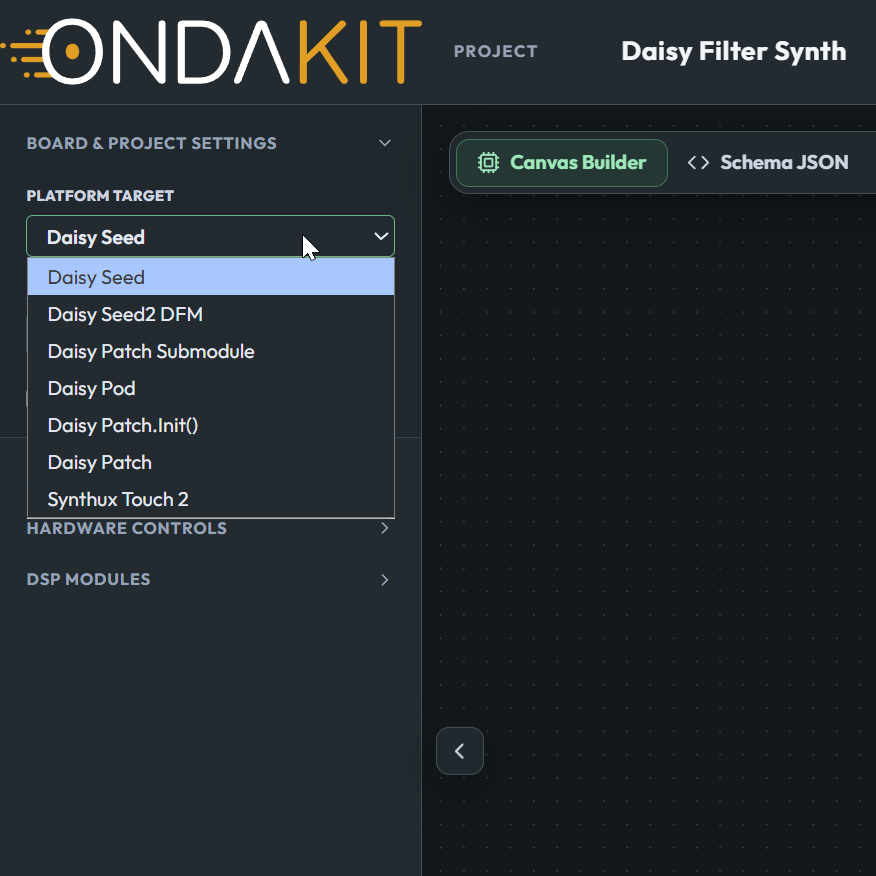
  • Fixed carrier boards pre-populate semantic controls ("Knob 1", "Pad 05").
  • Standalone boards let you map custom controls to GPIO/ADC pins.
Platform Dropdown
02
Step Two

Build & Connect Your Patch

Browse the categorized palette on the left sidebar to add sound sources, processors, envelopes, and hardware controls to your canvas.
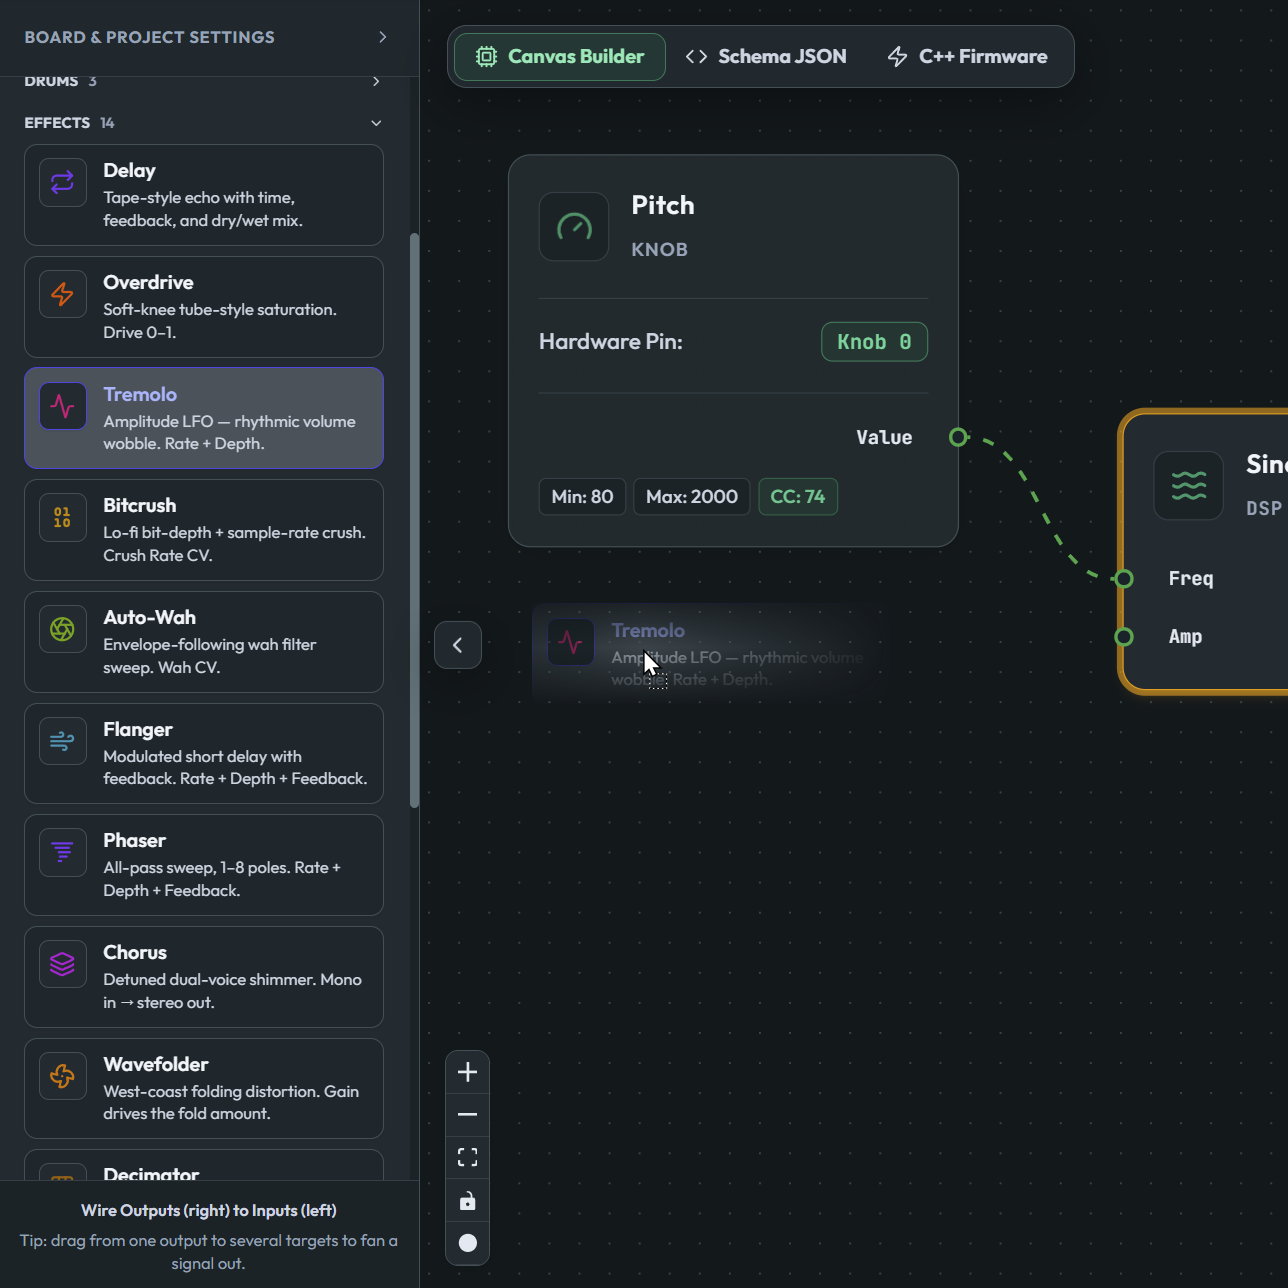
  1. Add Nodes: Drag modules (Oscillator, Filter, Reverb, Knobs).
  2. Wire Ports: Connect output ports to input ports. Ondakit uses typed ports for audio, modulation, and gates.
  3. Inspect & Fine-Tune: Select any node to set frequencies, min/max sweep ranges, or MIDI CC assignments.
Canvas Patching
03
Step Three

Flash to Hardware

Choose between two simple flashing methods:

WebUSB Browser Flash: Connect your board via USB, hold BOOT and press RESET, then click Flash Device directly inside Ondakit!

Local Compile & Export: If you prefer local building or saving code, export a complete C++ project ZIP with Makefile and build scripts, or run make in your local terminal.
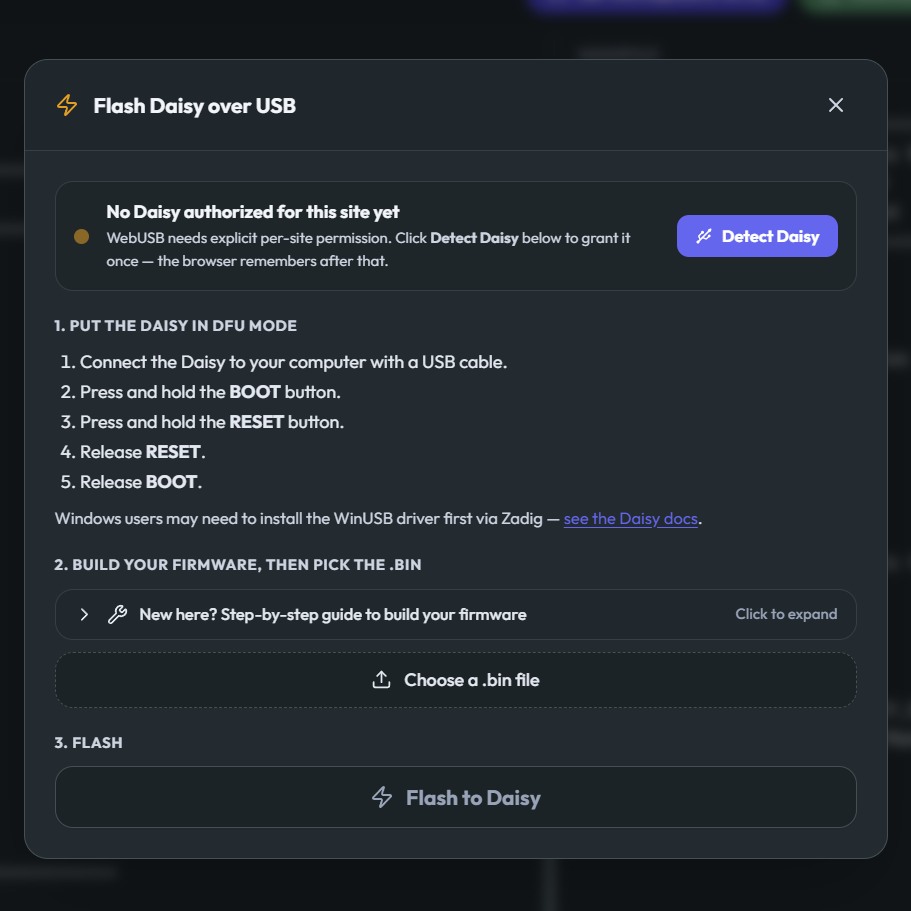
Flash Dialog
04
Step Four

Live Tweaking & Telemetry

With firmware running on bare metal, connect over USB MIDI to interact live with your synthesizer:
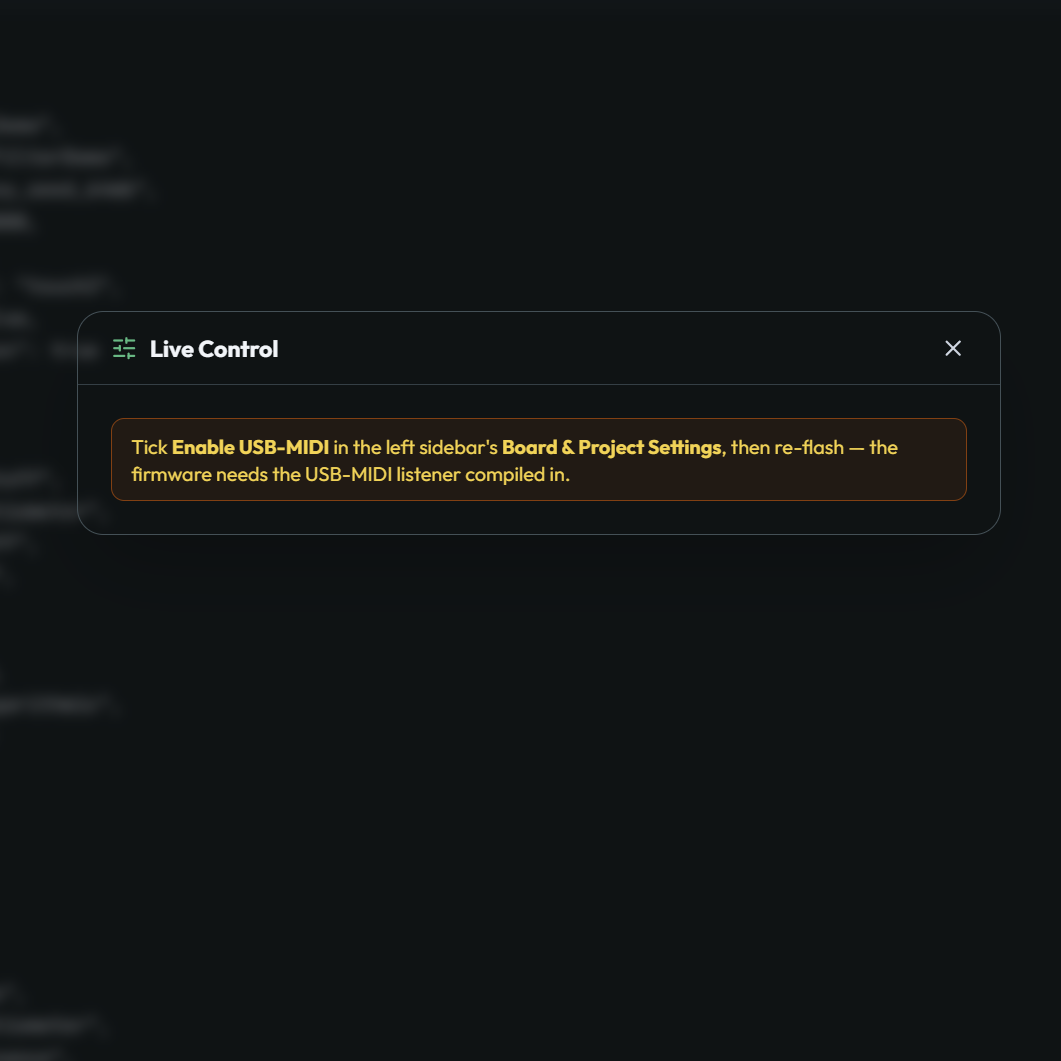
  • NRPN Control: Tweak parameters inside Ondakit to instantly update sound on the running device without re-flashing.
  • Live Telemetry: Stream physical hardware knob and touch pad readings back into the browser in real-time.
Open Ondakit Builder →
Live Control Telemetry